Atlanta Soil Test Walkthrough, How to Pull a Good Sample, Read the Results, and Fix pH for Bermuda, Zoysia, and Fescue
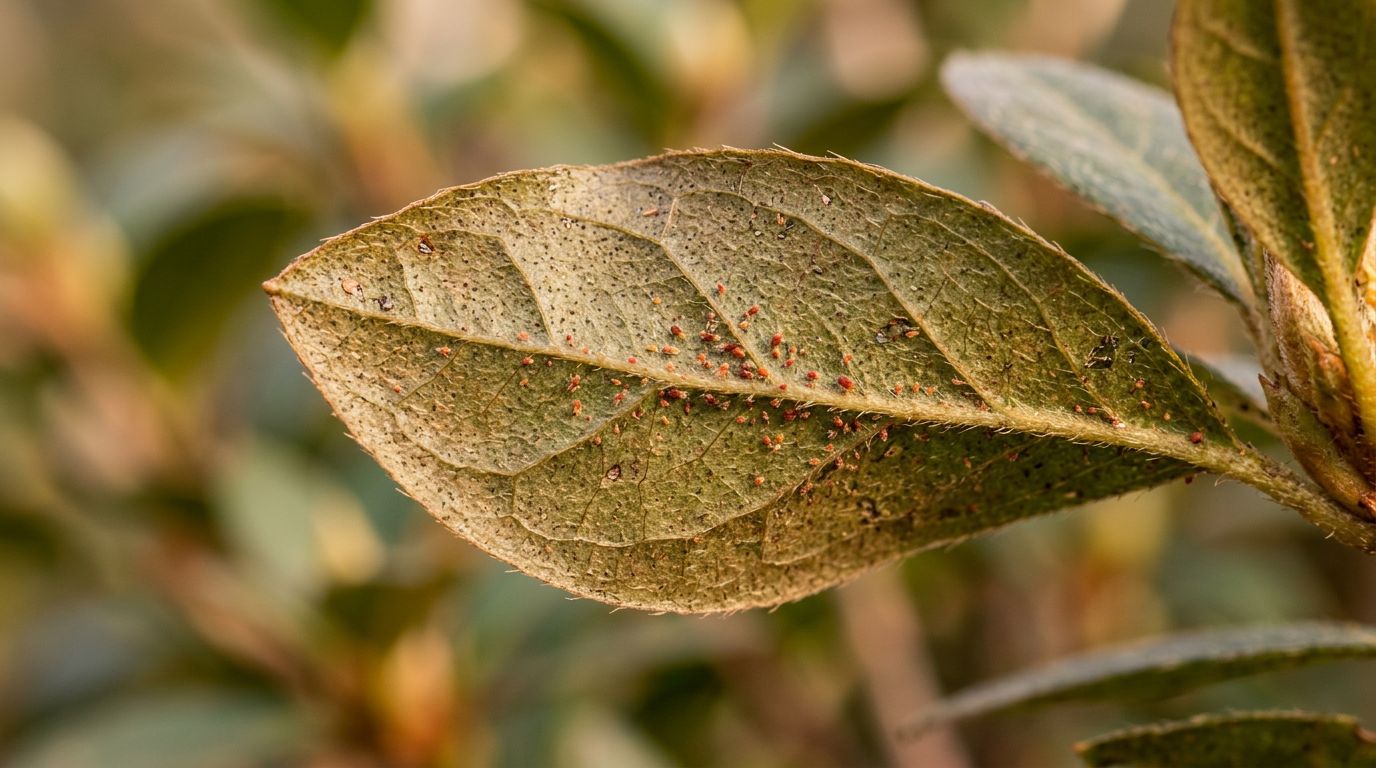
Ever spread fertilizer and still end up with thin turf, weeds, or yellow patches? In metro Atlanta, that’s often a soil problem, not a “try harder” problem. Our clay-heavy soils can be acidic, tight, and picky about which nutrients they’ll actually let grass use.
A good Atlanta soil test takes the guesswork out. You’ll learn your soil pH, how much lime (if any) you really need, and whether phosphorus or potassium is holding your lawn back. This guide walks you through sampling the right way, reading the report, and correcting pH safely for Bermuda, Zoysia, and fescue.
What an Atlanta soil test tells you (and why clay lawns act stubborn)
Atlanta’s Piedmont clay tends to run on the acidic side. When pH drifts low, nutrients can get “locked up,” meaning they’re in the soil but your grass can’t access them well. That leads to weak roots, slow growth, and a lawn that never quite looks right even when you fertilize.
A standard lab test typically reports:
- Soil pH (what your grass is living in right now)
- Buffer pH (used to calculate how much lime is needed, this matters more than guessing)
- Phosphorus (P) and potassium (K) (common limiting nutrients in established lawns)
- Calcium (Ca) and magnesium (Mg) (key for structure and pH management, especially in clay)
- Sometimes organic matter and notes tailored to turf
In Georgia, the simplest route is using UGA’s system through your county Extension office. The UGA lab recommendations are designed to be followed as written, which is exactly what you want when you’re trying to fix pH without overcorrecting. For background on how testing works statewide, start with UGA’s soil and water testing services overview.
How to pull a clean soil sample that matches your lawn
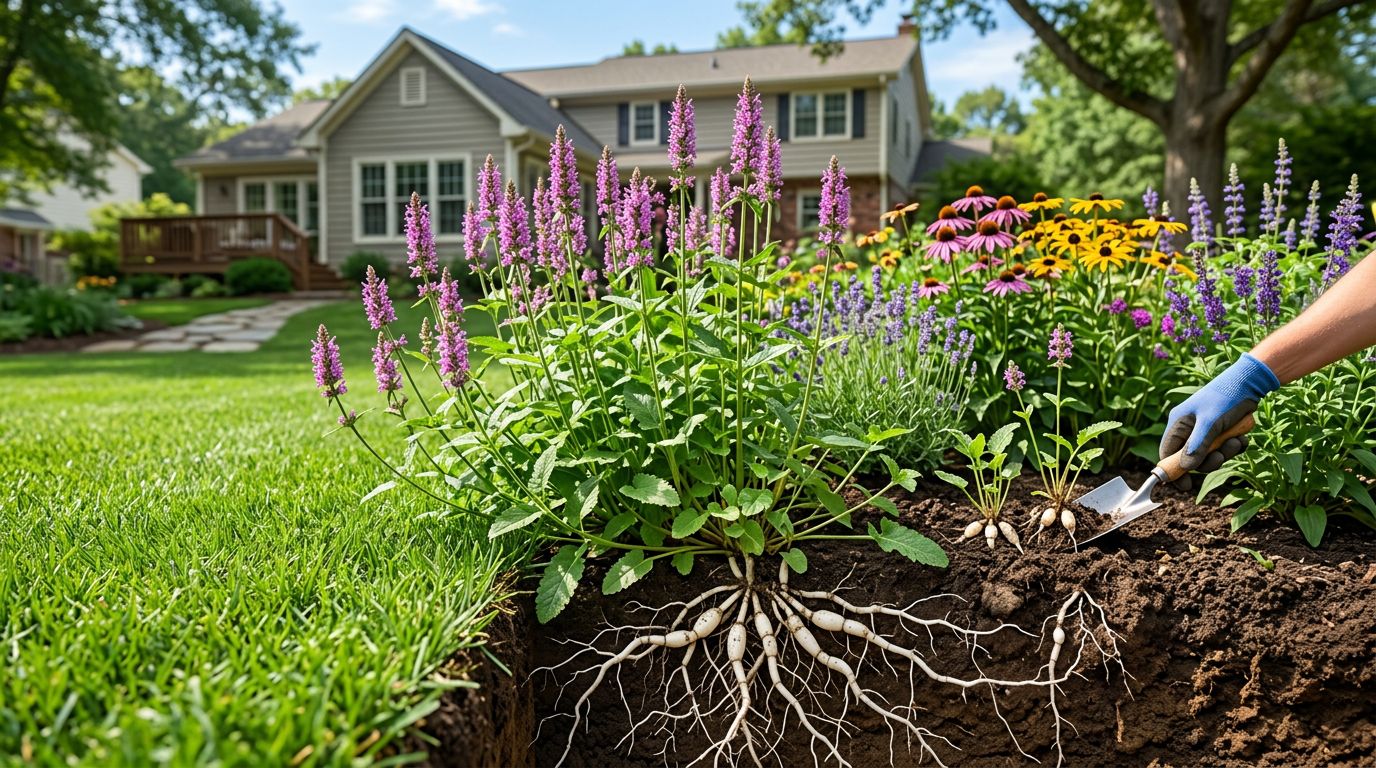
 An AI-created graphic showing how to collect and combine cores into one clean sample per lawn zone.
The lab can only work with what you send. If you grab one scoop from a random spot, you’ll get random answers. The goal is an average of each “zone” of your yard.
Step-by-step sampling procedure (simple defaults that work)
- Split the lawn into zones. Front vs back, sunny vs shade, or Bermuda area vs fescue area. Don’t mix different grass types or problem areas with the rest.
- Wait out recent applications. Don’t sample right after fertilizing, liming, or applying compost. Give it a few weeks so you’re not testing the product you just threw down.
- Use a clean tool and clean bucket. A soil probe is ideal, but a hand trowel works. Use a plastic bucket that hasn’t held chemicals.
- Sample the right depth for turf. For established lawns, pull soil from 0 to 4 inches deep. Scrape off grass and thatch first so you’re testing soil, not dead stems.
- Take enough cores. UGA guidance is often 8 to 10 cores per zone, but 10 to 15 cores per lawn zone is a strong default in Atlanta because clay can change fast over short distances.
- Walk a zigzag pattern. Spread your cores across the whole zone, not all along one edge.
- Mix, then bag. Break up clods, remove rocks and roots, and mix thoroughly. Fill the soil test bag with about a pint of the mixed soil (follow the bag line if marked).
- Air-dry if needed. If the soil is damp, crumble it and let it air-dry overnight on clean paper. Don’t bake it or leave it in direct heat.
If you’re in or near the city, Fulton County has a helpful page on where to start and what to submit for UGA testing: Fulton County Extension soil testing info.
Common sampling mistakes that ruin results
- Sampling right after lime or fertilizer : you’ll “see” the product, not the soil.
- Too shallow or too deep : turf defaults to 0 to 4 inches, keep it consistent.
- Including thatch or mulch : that inflates organic matter and can skew nutrient readings.
- Mixing zones : shade fescue soil and sunny Bermuda soil often behave differently.
- Using a contaminated bucket : old herbicide residue or salty fertilizer dust can throw off numbers.
- Sampling wet mud : it clumps and won’t mix evenly, air-dry first.
Reading your soil test: pH, buffer pH, and the numbers that matter
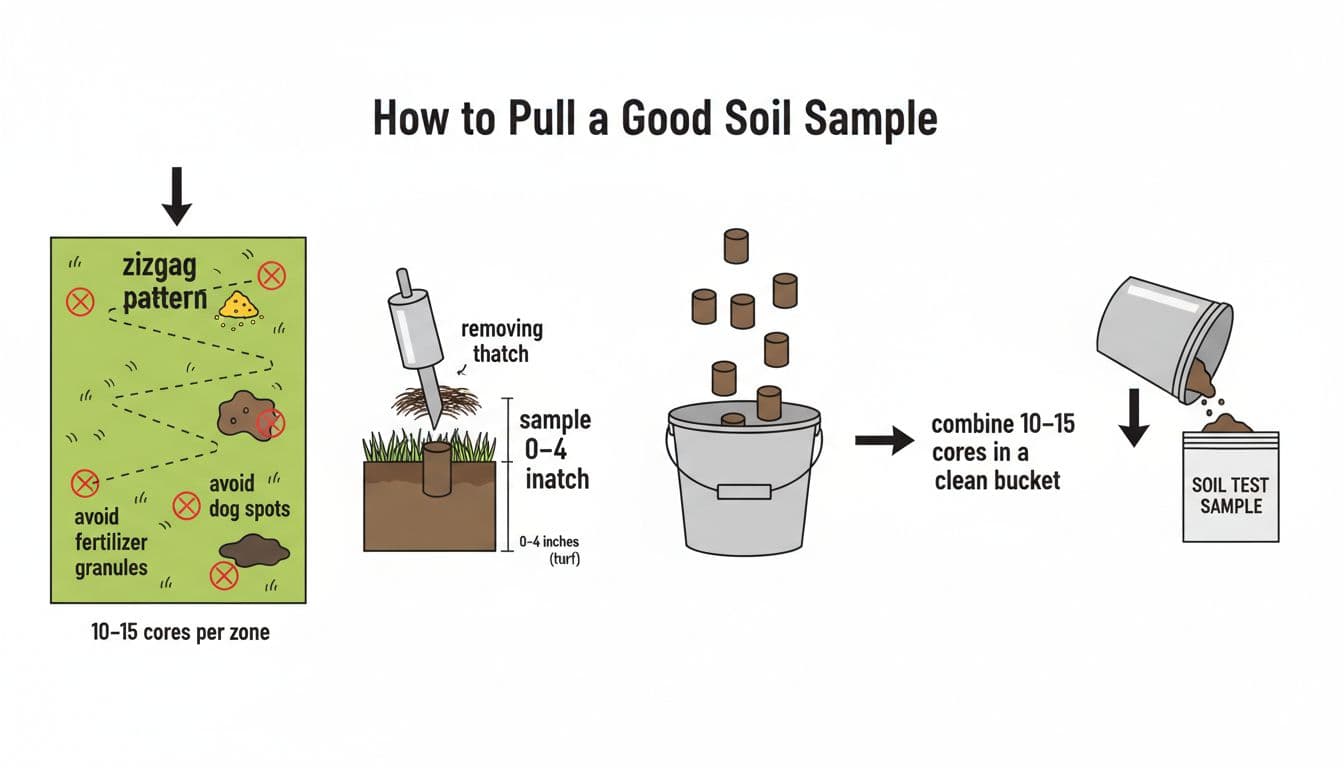
 An AI-created visual guide to the key lines on a typical soil test report.
A soil report can look like a spreadsheet at first, but you can get 90 percent of the value by focusing on a few lines.
1) Soil pH (current condition)
This is the number most homeowners look for first. Warm-season grasses like Bermuda and Zoysia usually perform fine in slightly more acidic soil than fescue.
2) Buffer pH (the “how much lime” driver)
Buffer pH is what the lab uses to calculate the lime requirement
. Two lawns can both test at pH 5.5 but need very different lime amounts, especially in dense clay. That’s why guessing with “a bag per 1,000 sq ft” often disappoints.
3) Lime recommendation (the action item)
If the report gives a lime rate, treat it like a prescription. It’s based on your soil chemistry, not a general tip.
4) P and K (common weak links in Atlanta lawns)
Many metro Atlanta lawns already have plenty of phosphorus, while potassium can be low. If P is already high, adding more doesn’t help and can cause problems off-site. Let the report guide you.
Also look at Ca and Mg. If Mg is low, it can influence whether you choose calcitic or dolomitic lime (more on that next).
Fixing pH in Atlanta lawns without overdoing it
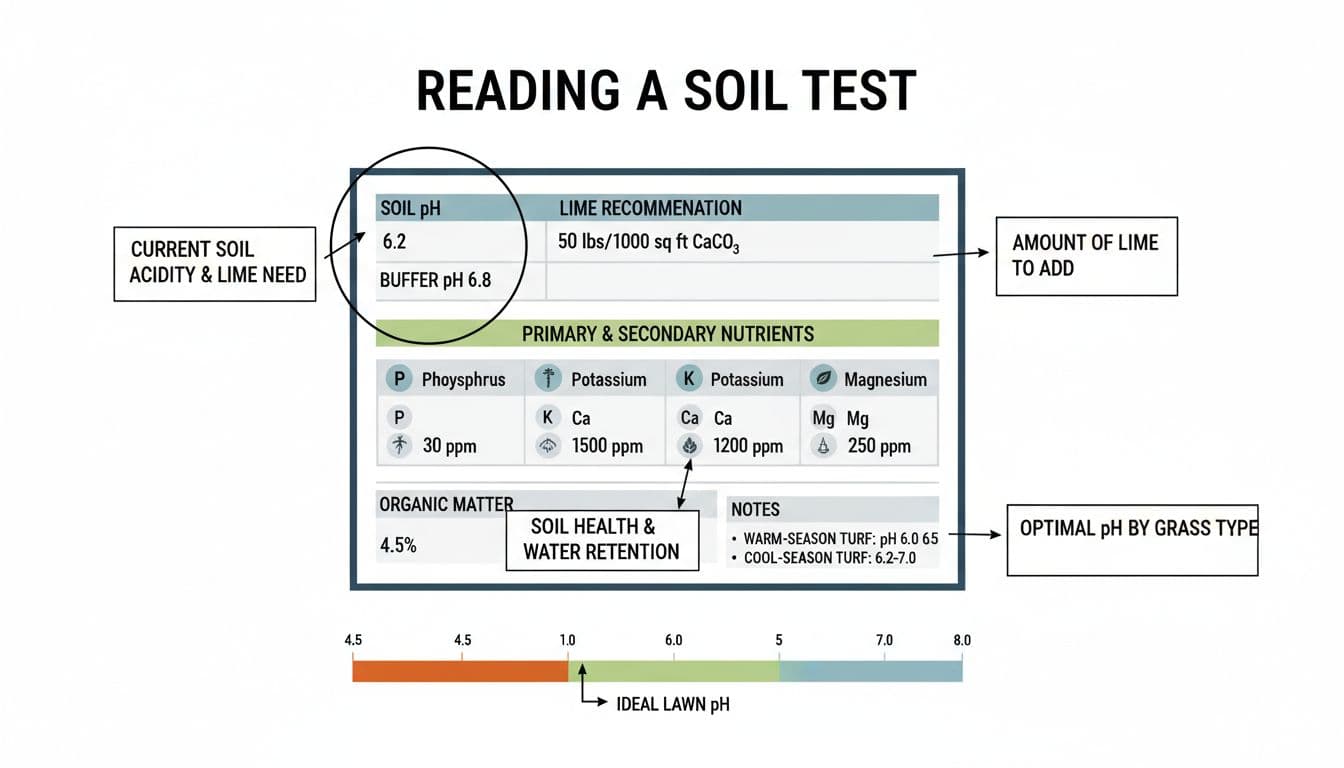
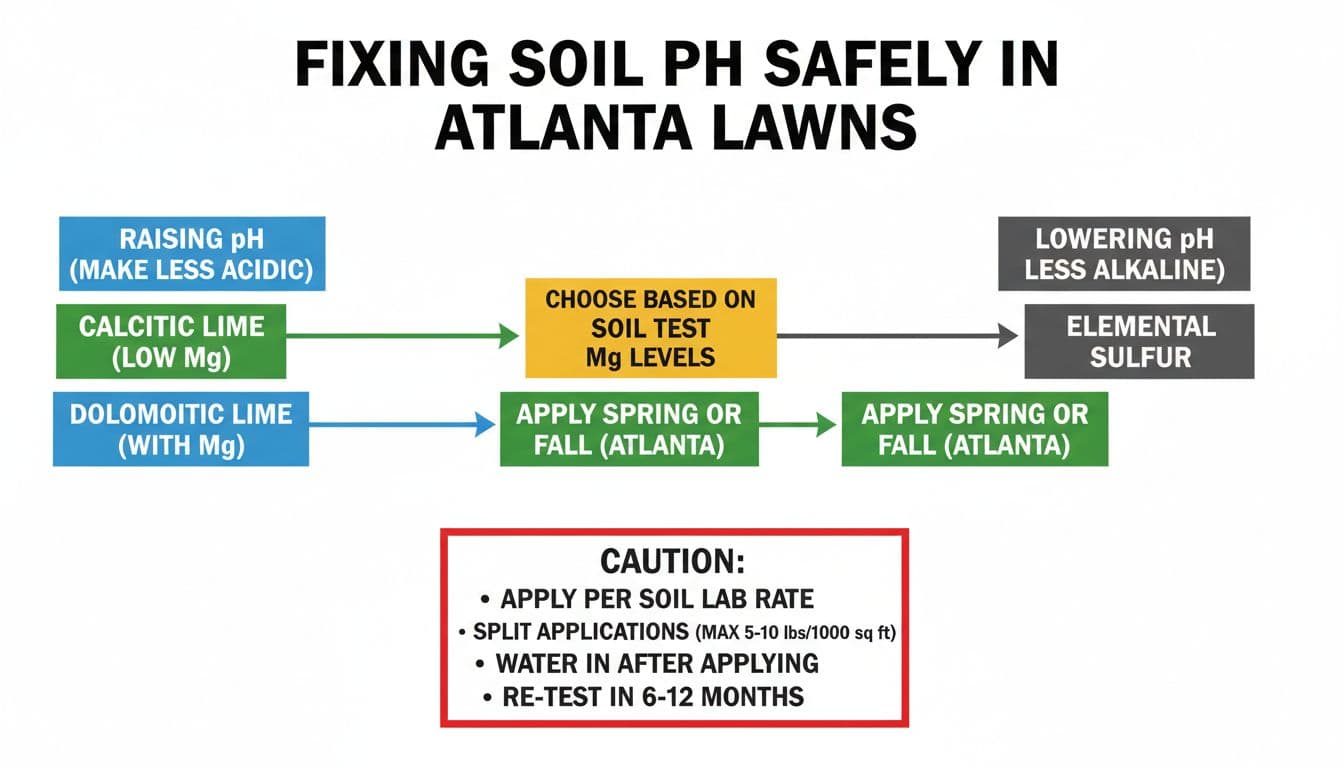 An AI-created chart showing safe options for raising or lowering pH and when to apply in Atlanta.
In Atlanta, low pH is common, and lime is the usual fix. High pH is less common in clay lawns, but it can happen (often near new concrete, mortar washout, or certain fill soils).
Target pH and best timing by grass type (Atlanta-friendly)
| Grass type | Target pH range | Best timing for lime or sulfur in Atlanta |
|---|---|---|
| Bermuda | 5.8 to 7.0 | Lime in late winter or fall, sulfur in spring or fall (avoid peak summer heat) |
| Zoysia | 5.8 to 7.0 | Lime in late winter or fall, sulfur in spring or fall |
| Tall fescue | 6.0 to 6.5 | Lime in fall (great before overseeding season), sulfur in spring or fall with steady moisture |
How to raise pH with lime (the safe way)
- Follow the lab’s lime requirement , which is based on buffer pH. This is the number that keeps you from over-liming.
- Pick the right lime type.
Calcitic lime adds calcium and raises pH.
Dolomitic lime adds calcium plus magnesium, useful if Mg is low on the report. - Split big rates. If your report calls for a heavy application, apply half now and the rest later (often 4 to 6 weeks apart). Clay reacts slowly, and splitting reduces risk.
- Water it in. A normal irrigation or rainfall helps move lime off blades and into the soil surface.
- Don’t expect overnight results. Lime can take months to fully shift pH in compacted clay. Plan ahead.
How to lower pH (only if the report says you need it)
If pH is high, the report may call for elemental sulfur . Apply it carefully, follow the recommended rate, and avoid hot, dry stretches. Sulfur can burn turf if overapplied, and changes are not instant.
When to re-test
After a pH correction, re-test in 6 to 12 months (or at least the next season) so you can confirm you’re moving in the right direction, not overshooting.
If you need help finding the right office for bags, forms, or local guidance, Fulton County’s Extension contact information is a solid starting point, and other metro counties have similar pages.
Conclusion
A clean Atlanta soil test is the fastest way to stop wasting money on guesswork. Pull 10 to 15 cores per zone at 0 to 4 inches, keep the sample clean, and let the report drive your lime and fertilizer plan. Fix pH slowly, split heavy rates, water it in, then re-test to confirm the change. Your grass can’t outperform your soil, but it can absolutely outperform your current results once the soil is dialed in.