Sprinkler Wiring Troubleshooting for Atlanta Irrigation Zones
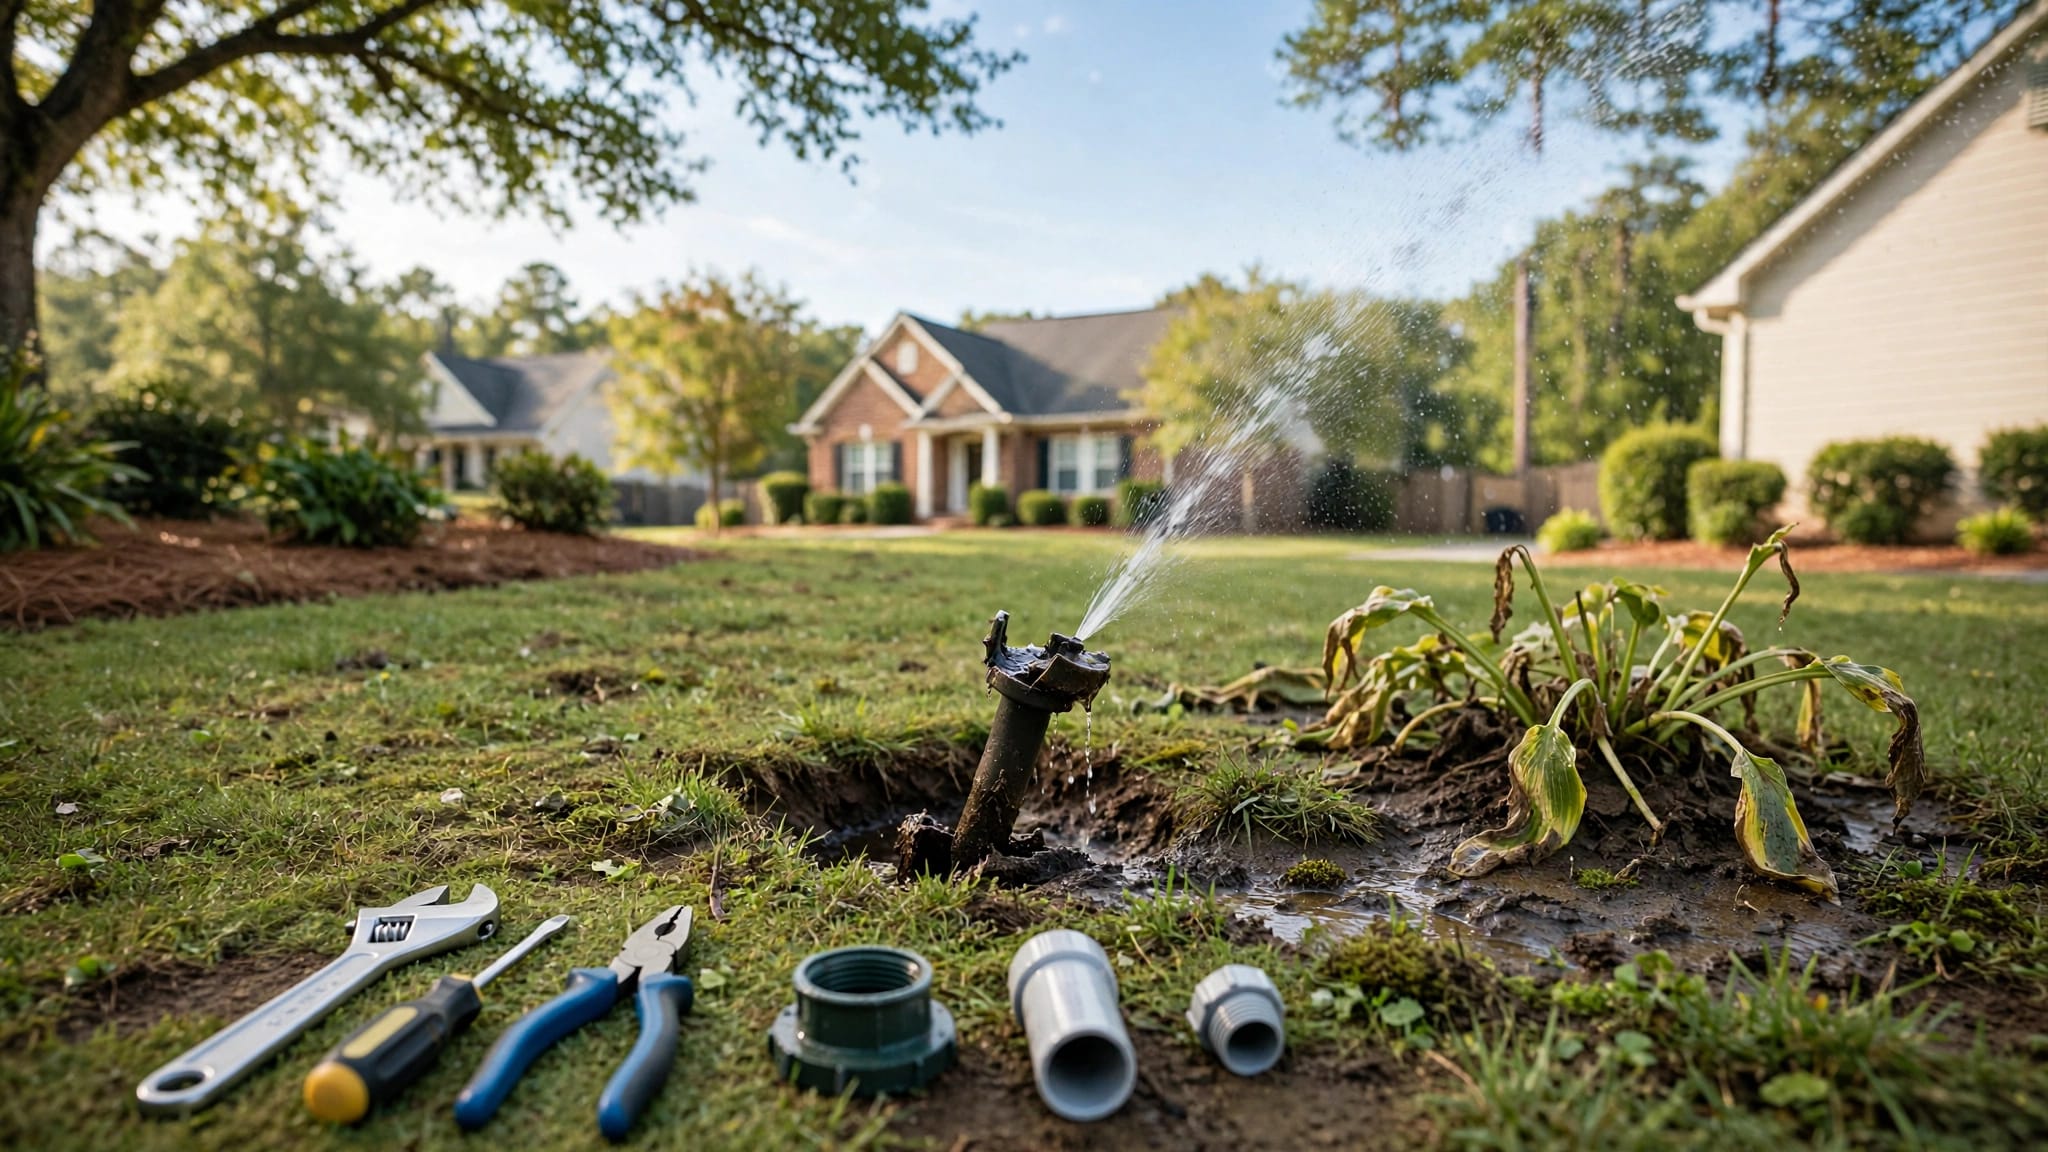
A dry patch can make you suspect a broken sprinkler wire, but the fault may be a timer setting, a valve, or a clogged head. Sprinkler wiring troubleshooting works best when you test one irrigation zone at a time and compare it with a zone that runs normally.
You don't need to dig up the lawn to make a useful first diagnosis. Start by recording what each zone does, then work from the controller toward the valve.
Start sprinkler wiring troubleshooting one zone at a time
Run each station manually for two or three minutes while you watch its sprinklers. Write down the station number, the area it waters, and what happens. Stop a test early if you see a leak or water heading toward a building.
When one zone fails
If the other zones work, focus on the affected station, its field wire, the valve's solenoid, and the water path beyond that valve. Listen near the valve box when the station starts. A click is useful to note, but it doesn't prove that the valve opened or that water reached the heads.
A zone that runs during a manual test but misses its automatic cycle points first toward its schedule or sensor settings. A zone that won't run manually needs closer inspection. For help distinguishing a failed solenoid from other causes, see Atlanta sprinkler solenoid troubleshooting.
When several zones fail
Multiple dead zones can share a common wire or another upstream problem. Check whether the controller has power and whether its irrigation program is active before opening valve boxes.
If every zone fails, also check the irrigation water shutoff. A system-wide failure doesn't establish that the wiring is bad. Keep a record of which stations fail together; that pattern can help a technician identify a shared connection.
Check the irrigation controller before touching wires
A controller can count down a station while its sprinklers remain still. Look at its display and settings first. Don't reset the unit to see if that helps, since a reset may erase the schedule you need to inspect.
Review the station's schedule
Confirm the current day and time, watering days, start times, and run time for the affected station. Check whether rain delay, a sensor, or a seasonal adjustment is preventing a cycle. A station with no run time won't water on schedule, even if its wiring is sound.
Next, use the controller's manual-run function. If that starts the zone normally, save the wiring work for now and correct the program. If the controller skips the station or reports a fault, note the exact behavior before changing anything.
Inspect the low-voltage terminals
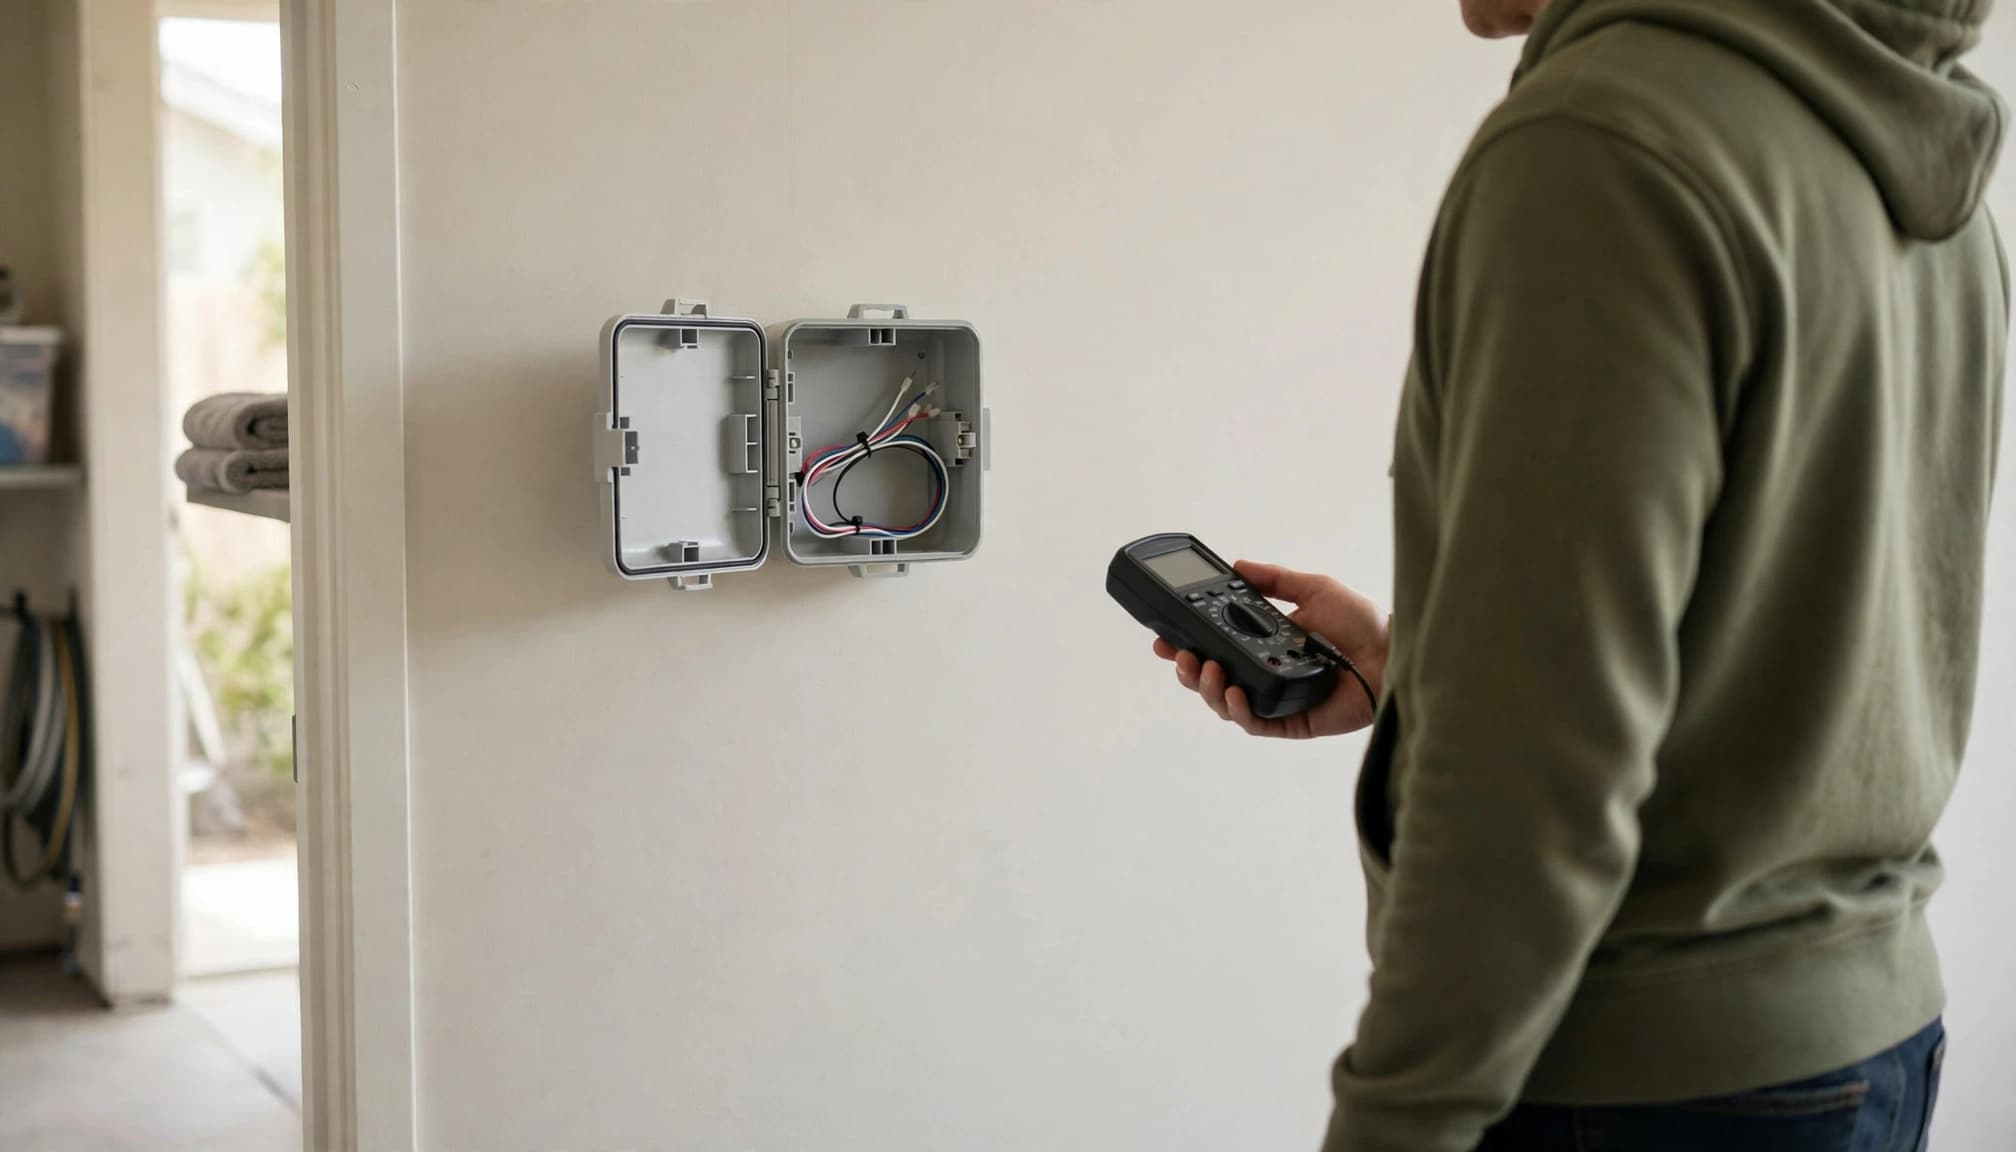
Turn off controller power before handling or moving conductors. Photograph the terminal strip, then look for a loose station wire, corrosion, or damaged insulation. A common-wire terminal is often marked C or COM , while station terminals are typically numbered.
Wire colors are not standardized. A white wire isn't proof that you've found the common. Trace connections by their terminals and your zone records, not by insulation color. Leave any sealed household-voltage compartment closed.
Understand what the common wire can tell you
A typical valve solenoid has two leads. One joins that zone's station wire; the other joins the shared common circuit. When either path is broken, the valve may not receive the command to open.
A shared fault can affect several stations
Several valves may connect through common-wire splices in different valve boxes. If two or more zones fail together, inspect any accessible shared connections before assuming each solenoid failed separately. An intermittent connection may also explain zones that work on one test and fail on the next.
A failed sensor connection or controller setting can resemble a shared wiring fault. Follow the controller manual before changing sensor wires or using a bypass setting, then restore the normal configuration after testing.
A single-zone fault still needs comparison
When neighboring zones work, their shared controller power and water supply are less likely to be the cause. That narrows the search, but it doesn't identify the failed part. The affected station could have a loose terminal, a damaged field wire, a bad splice, or a valve problem.
One working zone is a useful comparison, not proof that every shared wire and connection is intact.
Inspect field wiring and the valve box
Field wiring can be damaged by edging, animal activity, weather exposure, or digging. Walk the route between the controller and the affected area, especially where recent planting or hardscape work disturbed the ground. Avoid probing blindly into soil to find a wire.
Look without pulling connections apart
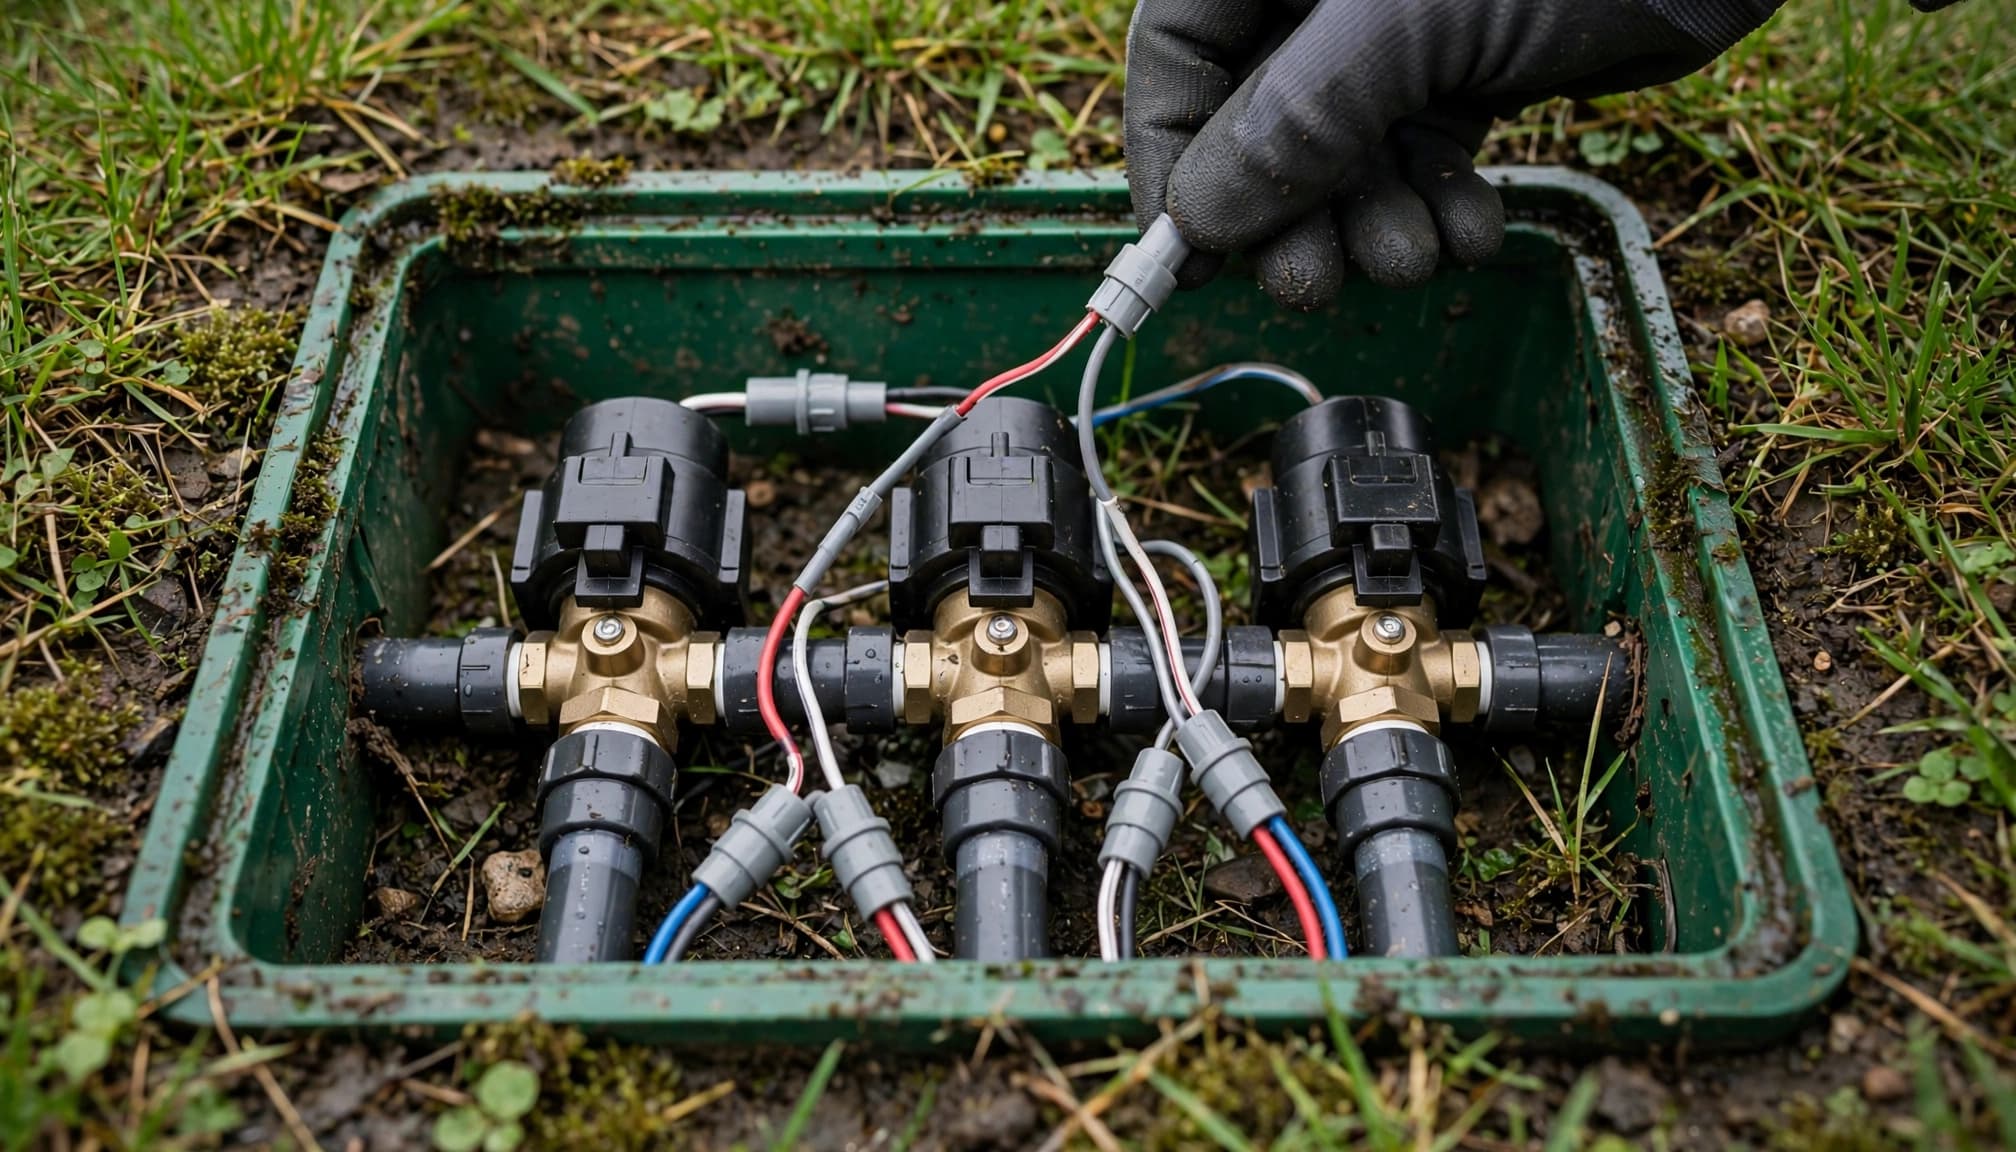
Locate the valve box and lift its cover carefully. Grass, mulch, or pine straw may hide it. Check for standing water, chewed insulation, cracked fittings, or connectors that have come loose. Don't tug on wires to learn where they go; an older splice may fail when disturbed.
If the box is flooded, turn the station off. Don't handle electrical connections while standing on wet ground or working in water. A box that refills during each cycle also needs a leak inspection.
Separate the solenoid from the valve body
A solenoid can fail electrically, while a valve can fail mechanically because of debris or a damaged diaphragm. Similar symptoms can come from a broken field wire. For that reason, replacing the solenoid based only on a dry zone can miss the fault.
If you repair an accessible splice, use irrigation-rated waterproof connectors suitable for the location. Restore connections before closing the box, and don't repeatedly run a station with exposed wiring.
Use a multimeter only where access is safe
A digital multimeter can help narrow down a sprinkler wiring fault, but the setting matters. AC voltage checks require an active circuit; resistance checks require power off and an isolated component. Read your meter's instructions first, and stop if you can't clearly identify the low-voltage terminals.
Check controller output on AC volts
If the controller provides safe access to its low-voltage terminal strip, set the meter to AC volts. With the affected station running, place one probe on its station terminal and the other on the common terminal. Keep the probe tips from touching neighboring terminals or bare metal together.
Compare the reading with the controller manufacturer's instructions. A reading outside its specified output range may point toward a setting, connection, sensor circuit, or controller fault. An appropriate reading at the controller shows output there; it doesn't prove the signal arrives at the valve. Leave testing at a wet or inaccessible valve box to a professional.
Check an accessible solenoid with power off
Turn controller power off before disconnecting anything. Photograph both solenoid connections, then isolate its two leads from the field wiring if you can do so safely. Set the meter to resistance and measure across those two leads.
Compare the result with the solenoid manufacturer's specification. An open-circuit reading or one near zero can suggest a failed coil, but models vary. A reading within specification still doesn't rule out a stuck valve. If you can't identify the leads or restore waterproof connections, don't disconnect them.
Rule out water-flow and sprinkler-head problems
An electrical test can look normal while a zone still waters poorly. When the valve activates, watch every head in that zone. Note any head that won't rise, sprays sideways, bubbles at the base, or leaves a small dry area.
Compare dry spots with a fully dead zone
If no heads receive water, consider the valve and supply path as well as its electrical command. If most heads run but one patch stays dry, inspect the nearby nozzle, head position, and spray pattern. A wire fault usually won't isolate one small patch within an otherwise active zone.
An Atlanta sprinkler system audit can help when coverage remains uneven after the zone runs.
Watch for runoff before adding time
Metro Atlanta lawns may include Bermuda, Zoysia, or tall fescue, and their watering needs change with weather and site conditions. On clay soil, a long cycle can send water downhill before it soaks in. Runoff isn't evidence of a wiring fault.
After a repair, review the Atlanta lawn watering schedule by season. Check current watering rules for your local jurisdiction before changing run times or days.
Know when to stop and request irrigation service
Stop electrical testing if you find melted insulation, a burning smell, water inside the controller, or exposed household-voltage wiring. Don't open a sealed high-voltage compartment. If a valve won't shut off, a backflow assembly leaks, or water approaches the foundation, turn off the irrigation supply and arrange service.
Buried wire breaks, inaccessible splices, repeated controller faults, and several failed zones warrant professional tracing. The same applies when a valve box sits beneath hardscape or you can't safely match stations to valves. Before the visit, record the controller brand and model, affected station numbers, manual-test results, and recent yard work. Photos of terminals and valve boxes can help.
Ask what the diagnostic visit includes before approving a replacement. A useful estimate separates testing, parts, labor, and any work needed to reach buried components. Those factors are covered in the Atlanta irrigation repair cost guide.
Key takeaways
- Test every station manually and record which zones work before changing wires or buying a valve.
- Check the schedule and accessible controller terminals first, then inspect the affected valve box and field connections.
- Use AC volts only on a safely accessible active low-voltage circuit. Use resistance only with power off and the solenoid isolated.
- Treat wire colors and dry grass as clues, not diagnoses. Stop when water, buried wiring, or unsafe power connections complicate the job.
Frequently asked questions
Why does a zone run manually but not on schedule?
The successful manual run suggests its controller output, wiring, and valve can operate. Check watering days, station run time, start times, rain delay, and sensor settings before disturbing the wiring.
Can a bad common wire stop only one zone?
Yes. A common connection near one valve may fail while other branches keep working. If several zones fail together, a shared splice or upstream connection deserves closer attention. The pattern helps locate a fault but doesn't confirm it.
Does a clicking valve mean the solenoid is good?
No. A click tells you something responded, but it doesn't confirm that the valve opened fully or that enough water reached the heads. Inspect the zone's water flow and use the manufacturer's test specifications before replacing parts.
Conclusion
That first dry patch doesn't tell you which component failed. Zone-by-zone comparison gives you a better answer: check the schedule, follow the low-voltage path where it's safe, and then watch what happens to the water.
If those checks don't isolate the fault, leave buried wiring and unsafe electrical work to an irrigation professional. A clear record of the failed stations will make the next diagnosis more useful.