Atlanta Rain Sensor Installation for Home Irrigation
A careful Atlanta rain sensor installation can stop your sprinkler system from running during or after a storm, saving water and reducing runoff across your lawn. The device is small, but its location, wiring, and controller settings all affect whether it works correctly.
Atlanta weather can shift quickly. A dry morning may turn into a heavy afternoon storm, while clay soil can stay wet long after the rain ends. Use a sensor as one part of your irrigation plan, then adjust the schedule, test coverage, and check the system as the seasons change.
Why Add a Rain Sensor to Your Irrigation System?
A rain sensor detects moisture and tells the irrigation controller to pause a scheduled cycle. Depending on the model and controller, it may also delay watering until the sensor dries out.
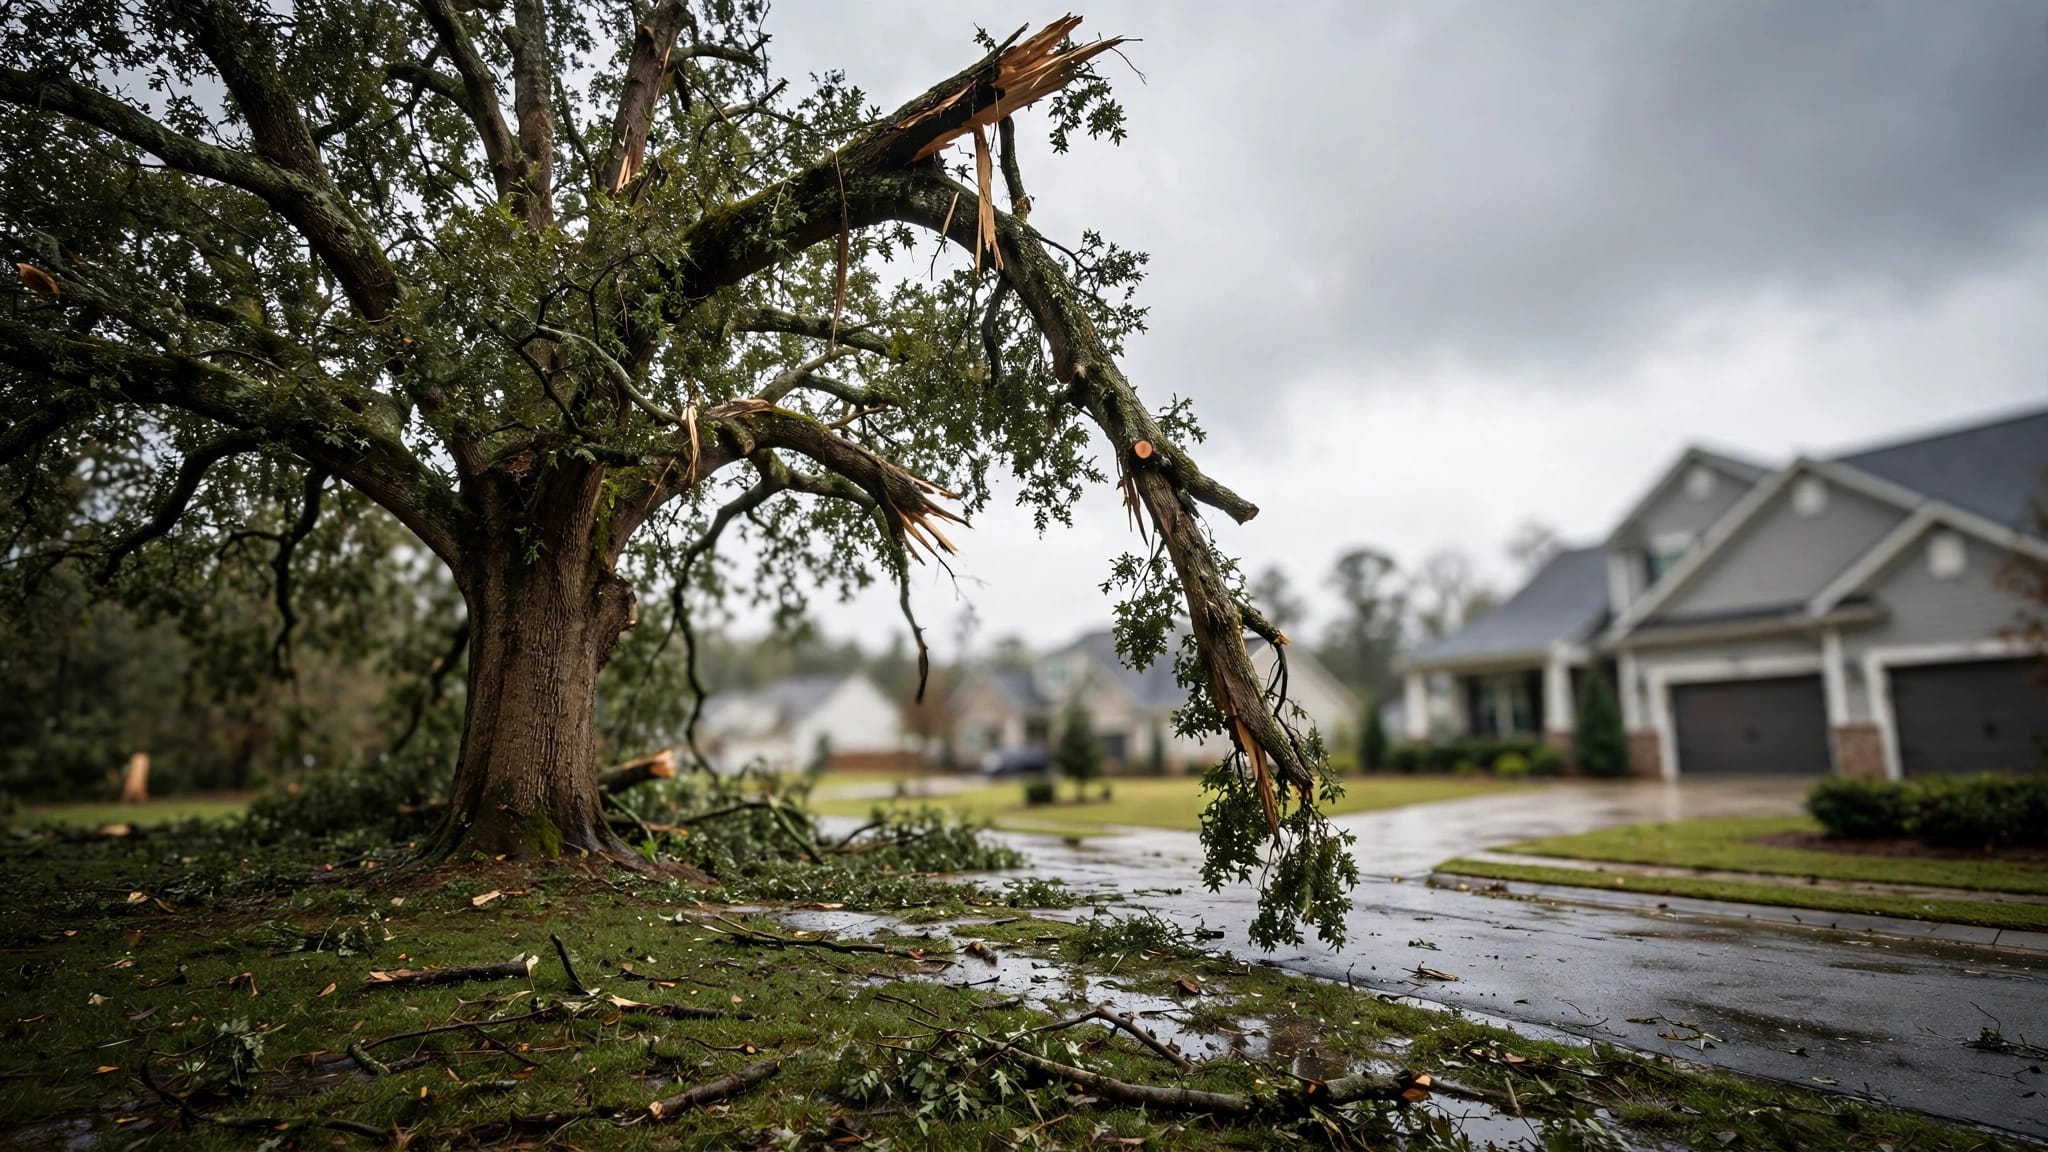
That pause matters when a programmed run time overlaps with a thunderstorm. Without a sensor, the system may water during the rain and continue shortly afterward. The result can include wasted water, muddy turf, standing water, and runoff on sloped areas.
However, a rain sensor only responds to conditions at its own location. It doesn't measure moisture across every zone, inspect the root depth, or recognize a broken sprinkler head.
A rain sensor can stop the next cycle, but it can't repair poor coverage or replace a seasonal watering plan.
Established Atlanta lawns often need about 1 inch of total water per week during active growth, including rainfall. Turf type, shade, slope, soil, and current weather all affect that amount. Use this Atlanta lawn watering schedule as a planning reference, then adjust your controller based on actual lawn conditions.
Atlanta rain sensor installation: Choose the Right Location
The sensor needs exposure to natural rainfall without interference from sprinklers, roof runoff, or dense vegetation. A poor location can make the device stay dry during a storm or trigger when only a small area receives water.
Mount the sensor where rain can reach it
Many residential sensors mount on a gutter, roof edge, fence, or exterior wall. Follow the mounting instructions for your model because brackets and clearance requirements vary.
Choose a location that:
- Receives open rainfall without a roof overhang blocking water.
- Sits away from sprinkler spray and mist.
- Avoids direct discharge from a downspout or gutter corner.
- Has enough clearance for the sensing mechanism to expand, contract, or dry.
- Allows the wire to reach the controller without sharp bends or exposed damage.
A gutter-mounted position often works well, but the sensor shouldn't sit directly beneath a roof valley or downspout. A heavy stream of roof water can trigger the sensor much earlier than rainfall reaches the rest of the property.
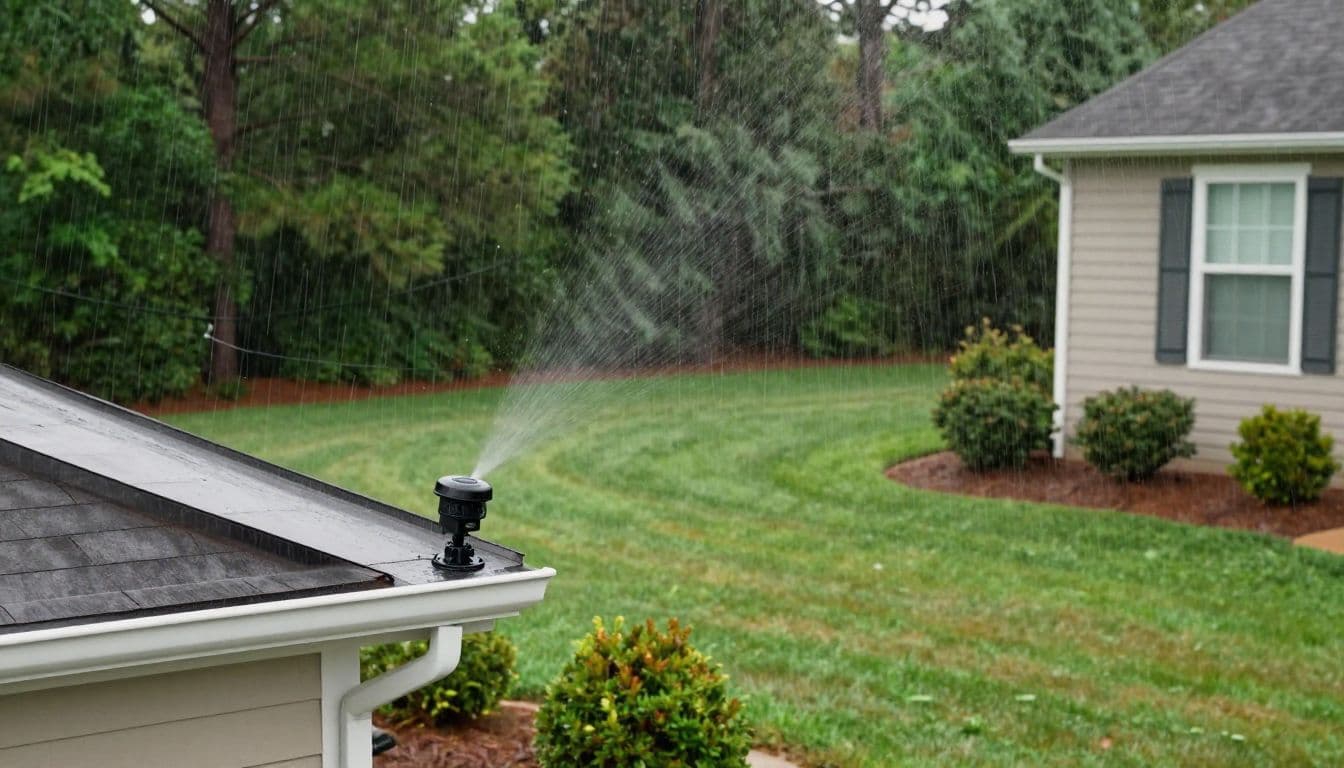
Place the sensor where it receives normal rainfall, not concentrated roof runoff.
Keep heat, shade, and obstacles in mind
Avoid locations beside dryer vents, air-conditioning exhaust, hot masonry, or dark metal surfaces. Extra heat can dry the sensor too quickly and allow watering before the lawn has recovered.
Tree branches and thick shrubs can also block rain. If the sensor sits under a canopy, it may record less moisture than the open lawn. On the other hand, placing it in a fully exposed area can make the device vulnerable to damage from ladders, yard equipment, or falling branches.
Mount it high enough to avoid accidental contact, but keep it accessible for cleaning and adjustment. The sensor should be secure, level according to the manual, and easy to inspect without climbing onto the roof.
Connect the Sensor to the Irrigation Controller
Once the sensor has a suitable location, run the control wire along a protected path to the irrigation controller. Keep the wire away from sharp metal edges, hot surfaces, weed trimmers, and areas where it can be pinched by doors or gates.
Before opening the controller, turn off its power. Unplug the low-voltage transformer or use the correct disconnect for the system. Don't work on the controller with wet hands or while standing on wet ground.
Some irrigation controllers have dedicated sensor terminals. Others connect the sensor through the common circuit or use a sensor bypass switch. Controller terminals and wiring colors vary by manufacturer , so never rely on wire color alone.
Follow the equipment manual
Your manual should identify the correct terminals, compatible sensor type, bypass position, and whether the controller expects a normally closed or normally open connection. Use those instructions before removing any existing wire.
A common wired sensor has two conductors. The connection may interrupt the controller's common circuit, or it may connect directly to labeled sensor inputs. Those arrangements aren't interchangeable on every model.
Strip only the amount of insulation required by the terminal. Tighten the connection without crushing the conductor. For outdoor splices, use waterproof irrigation connectors rated for direct burial or wet locations.
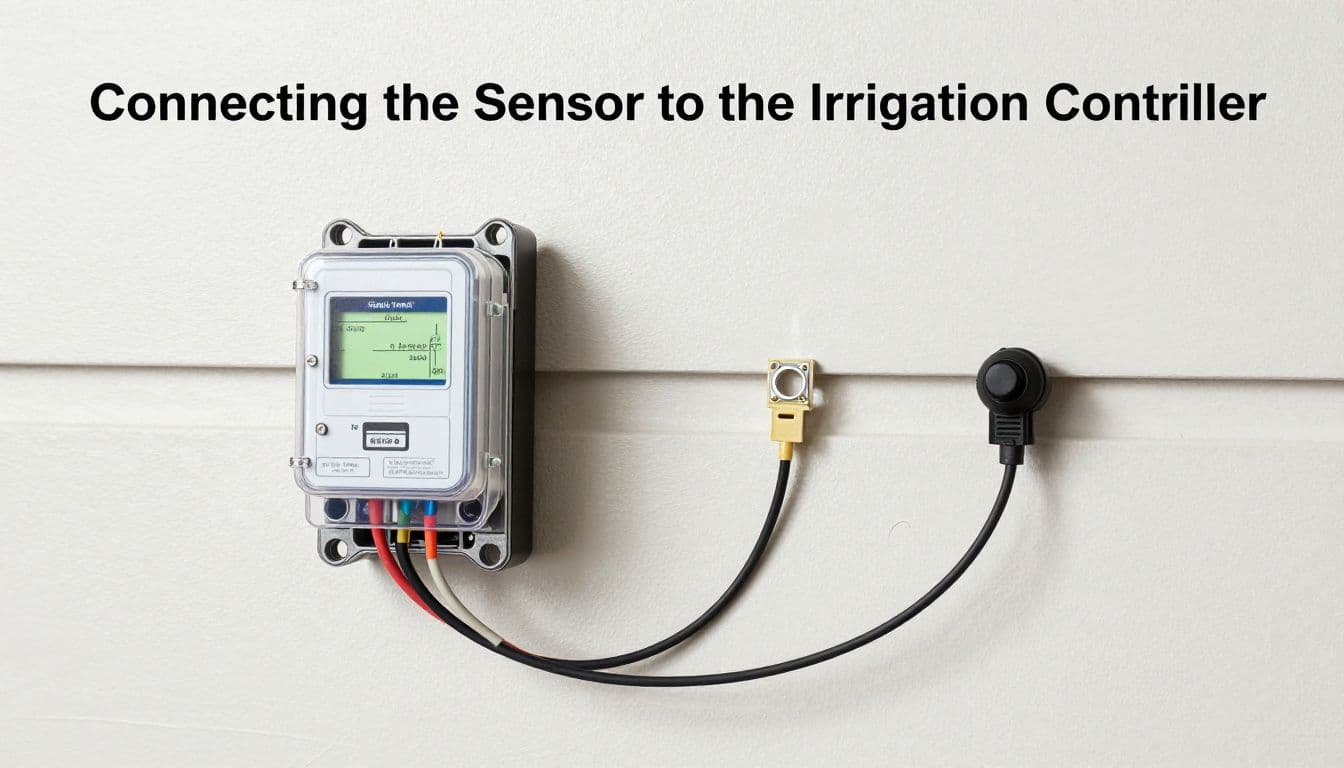
The correct connection depends on the controller design, so check the manual before moving wires.
Take electrical safety seriously
Most irrigation sensor circuits use low voltage, but the controller may also contain household-voltage connections. Don't open a sealed line-voltage compartment or handle incoming power wiring unless you're qualified to do so.
Stop the installation if you find damaged insulation, corrosion, loose conductors, exposed copper, or water inside the enclosure. An irrigation technician can identify the circuit and complete the connection safely.
After wiring, close the controller cover before restoring power. Keep the sensor wire separate from high-voltage wiring where possible, and don't run it through a location where lawn equipment can cut it.
Test the Sensor Before Relying on It
A new sensor should be tested before you leave the system on its normal schedule. First, restore controller power and confirm that the sensor function is enabled. Some controllers include a rain-delay or sensor bypass setting that can prevent the device from stopping a cycle.
Run a manual zone briefly, then activate the sensor according to the manufacturer's test instructions. Many models include a test button, a movable tab, or a mechanism that responds when the sensing discs become wet. The controller should stop or pause watering after the required delay.
Check the controller response
Watch the controller display or indicator lights during the test. The exact message differs by brand, but the system should show that the sensor has interrupted or delayed irrigation.
If the zone continues running, check these points:
- The controller's sensor bypass switch may be set to bypass.
- A wire may be loose or connected to the wrong terminal.
- The sensor may not match the controller's required connection type.
- The schedule may be running through a manual command that ignores the sensor.
- The sensing mechanism may be stuck, dirty, or incorrectly assembled.
Restore the sensor to its normal position after testing. Then allow the device to dry and confirm that the controller returns to its regular operating state.
Set the rainfall threshold carefully
Many sensors allow you to choose how much rain triggers a pause. Lower settings respond to light rainfall. Higher settings wait for a more substantial amount.
A low threshold can prevent watering after a useful shower, but it may also pause the system when the lawn still needs water. A high threshold may allow a cycle after a storm that left the soil saturated. Start with the manufacturer's recommended setting, then observe the lawn and adjust gradually.
The sensor's drying adjustment also affects the schedule. If it dries too quickly, watering may resume while the soil remains wet. If it stays active too long, the lawn may miss a needed cycle during a dry stretch.
Pair the Sensor With a Real Watering Schedule
A rain sensor supplements proper irrigation scheduling. It doesn't replace decisions about turf type, soil, season, or zone output.
Warm-season Bermuda and zoysia usually need active irrigation during hot growing periods, while tall fescue has different seasonal needs and can struggle through Atlanta's summer heat. Shade also changes water demand. A shaded side yard may need less irrigation than a sunny slope, even when both zones run from the same controller.
Don't choose run times by habit alone. A zone that runs for 20 minutes may apply much more or much less water than another zone. Use a catch-can test to measure how evenly each zone applies water, then adjust the run time based on the result. RW Lawn Co.'s Atlanta sprinkler audit guide covers this process for common local turf types.
Schedule irrigation during the early morning when practical. Watering at that time gives the root zone time to absorb moisture before afternoon heat. On heavy Atlanta clay, use cycle-and-soak programming when runoff begins. Split a long cycle into shorter runs with rest periods between them.
After rain, inspect the lawn rather than assuming every zone should remain off for the same number of days. Sandy or raised areas may dry sooner than compacted clay. The sensor pauses the controller based on its reading, but your lawn still needs observation.
Troubleshoot Common Rain Sensor Problems
A rain sensor can appear to work while the sprinkler system continues watering. Most problems come from placement, controller settings, wiring, or a sensor that needs cleaning.
The system runs during rain
Check whether the controller is set to bypass the sensor. Then inspect the wire connection and confirm that the sensor has a clear view of the sky.
If the sensor sits under an eave or tree canopy, it may not collect enough water. Sprinkler spray can also create confusing results if the device gets wet during irrigation but stays dry during natural rain.
The system stays off after dry weather
A sensor may remain active because its drying adjustment is set too long. Dirt, pollen, insects, or mineral deposits can also interfere with the sensing discs.
Clean the device according to its manual and inspect the housing for cracks. If the controller still shows a sensor interruption after the sensor dries, check the wire for a short or damaged section.
One zone has dry spots
A rain sensor won't correct clogged nozzles, poor head spacing, low pressure, or blocked spray patterns. Check the heads while each zone runs and look for tilted, buried, or damaged components.
If the problem continues, a professional diagnosis may be more practical than replacing the sensor. Use this Atlanta irrigation repair cost guide to understand common repair categories before requesting service.
When Professional Installation Makes Sense
DIY installation works best when the controller is accessible, the manual is available, and the wiring path is simple. A professional can help when the system has multiple controllers, a pump, buried wire, smart controls, or an older panel with unclear terminals.
Professional service also makes sense when the sensor installation is part of a larger irrigation problem. Uneven coverage, leaking valves, poor drainage, and compacted soil can all affect lawn health even when the rain sensor works correctly.
Before the next major storm, check the sensor mount, wire path, controller setting, and manual test response. A few minutes of inspection can prevent unnecessary watering and identify a problem before it affects the lawn.
Conclusion
A reliable Atlanta rain sensor installation starts with an exposed mounting location, a protected wire path, and controller connections that match the equipment manual. Test the sensor after installation, then set its rainfall and drying adjustments based on how your lawn responds.
Keep the larger schedule in place because the sensor is a backup against unnecessary watering, not a replacement for measured run times and seasonal adjustments. When the sensor and irrigation plan work together, your lawn gets water when it needs it without running through avoidable storm cycles.