Atlanta Retaining Wall Drainage for Wet Clay Soil
A retaining wall can fail long before the blocks crack. In many Atlanta yards, wet clay holds water behind the wall, adding pressure after every heavy storm.
Good drainage gives that water a controlled path out. Poor drainage leaves the wall carrying the weight of saturated soil, runoff, and sometimes nearby driveways or patios. The right design depends on wall height, soil conditions, slope, wall material, nearby structures, and local code requirements. Use this guide to understand the choices, spot problems early, and plan safer next steps.
Key Takeaways
- Wet clay drains slowly, so hydrostatic pressure can build behind a retaining wall.
- A reliable drainage system usually combines surface grading, clean aggregate, a perforated drain, and a safe outlet.
- Discharged water must flow away from foundations, neighboring properties, sidewalks, and erosion-prone areas.
- Wall height, slope, soil, surcharge loads, and local rules affect the correct drainage design.
- Bowing, leaning, cracking, or sudden wet spots call for a professional evaluation before more digging.
Why Atlanta's Wet Clay Creates Retaining Wall Pressure
Many Atlanta-area properties have clay-rich subsoil. Clay particles pack tightly together, leaving less open space for water to move through. After a long rain, the upper soil may look firm while the soil behind the wall stays saturated.
That trapped water creates hydrostatic pressure . The pressure pushes outward against the back of the wall. A wall that handles dry soil may move when the same soil becomes heavy with water.
Atlanta's weather can make the problem worse. Short, intense storms send runoff downhill quickly, while periods of wet weather keep the ground saturated. Properties on slopes may receive water from higher parts of the yard, roofs, driveways, or neighboring lots.
Clay also expands when wet and shrinks as it dries. Those changes can shift backfill and open paths for more water. If the wall holds soil below a downspout, paved area, or upper lawn, it may receive more water than the original installation anticipated.
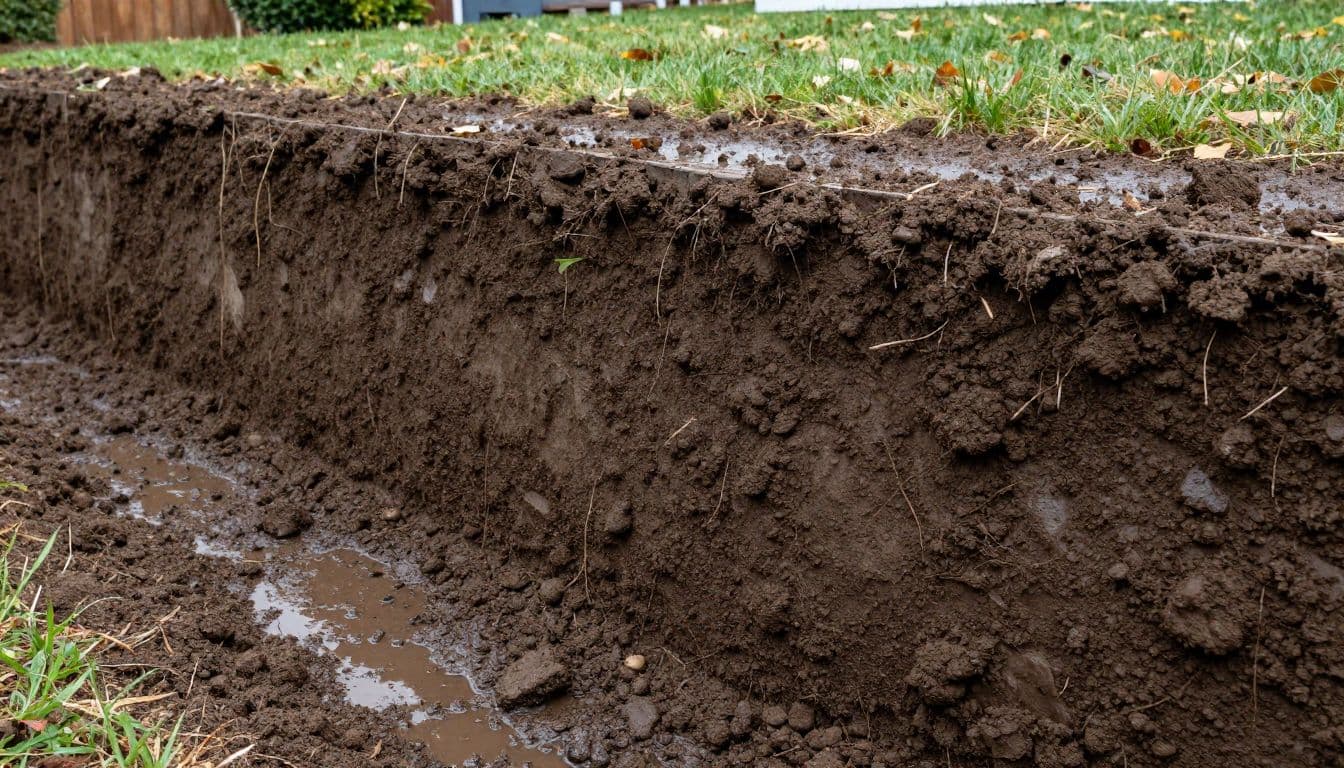
Wet clay can trap water behind a retaining wall and increase outward pressure.
A wall's visible face doesn't tell the whole story. Block walls, timber walls, poured concrete walls, and natural stone walls all need a drainage plan. The correct details change with the structure and the site.
A retaining wall can look solid while trapped water is loading it from behind.
What a Retaining Wall Drainage System Should Include
A drainage system works best when each part has a clear job. The goal is to collect water behind the wall, keep soil fines from clogging the system, and move the water to a safe discharge point.
The drainage zone behind the wall usually contains clean, free-draining aggregate. Washed gravel or another approved drainage stone allows water to move downward instead of pressing against the wall. Native clay should not fill this zone because it blocks flow.
A perforated drain pipe typically runs near the base of the wall. Water enters through the pipe openings and travels toward an outlet. Residential systems often use a pipe around 4 inches in diameter, but pipe size, placement, slope, and connections depend on the wall and expected water volume.
The pipe needs a continuous path. Low spots can hold sediment and water, while crushed or poorly connected sections can stop drainage. The pipe should discharge by gravity when the site allows it.
A filter fabric or properly selected geotextile can separate clay soil from the drainage aggregate. Without that separation, fine soil particles may wash into the stone and pipe. Over time, the drainage zone can lose the open spaces that let water pass.
The top of the wall also needs protection from surface runoff. A cap, soil cover, or paved area should direct water away from the backfill rather than letting it pour straight behind the wall. The exact detail depends on the wall material and the surrounding grade.
Drainage may also include weep holes or outlet sleeves through the wall face. These openings can relieve water from behind the wall, but they need a clear path and proper placement. Weep holes alone may not handle a large clay slope or concentrated roof runoff.
A dependable system commonly combines:
- A graded surface that sheds water before it reaches the wall.
- Clean drainage aggregate behind the wall.
- A perforated pipe near the base.
- Filter fabric or another method that limits soil migration.
- Solid pipe that carries collected water to a safe outlet.
- A discharge point that doesn't undermine the wall or harm nearby property.
Control Surface Water Before It Reaches the Wall
Subsurface drainage can't solve every water problem. If a downspout empties behind the wall, roof water may overwhelm the drain system during a storm. Fixing that source often costs less than rebuilding a wall that has moved.
Start by watching the yard during rainfall. Look for water that flows toward the wall, collects along the upper edge, or cuts channels through mulch and soil. Check whether driveway runoff enters the planting bed. Also inspect irrigation heads and buried lines for leaks.
Gutters need regular cleaning so they don't overflow beside the wall. Downspouts should connect to solid extensions or an approved drainage route. The discharge point must sit far enough from the wall and nearby foundation to avoid concentrating water in one spot.
The upper yard should usually slope away from the wall. A shallow swale can guide water around the structure when the property allows it. However, regrading must not send runoff into a neighbor's yard, public sidewalk, basement entrance, or erosion-prone slope.
Avoid piling mulch, soil, or leaf debris against the wall. Thick organic material can hold moisture at the top edge and hide developing cracks. Keep sprinklers from spraying directly onto the wall and reduce watering in areas that stay wet after rain.
For a wall that already leans or bows, start with water control before disturbing the structure. RW Lawn Co's guide to repairing bowing and leaning retaining walls covers common drainage-related warning signs and early repair options.
Choose a Safe Outlet for Collected Water
Collecting water is only half the job. The outlet determines where that water goes and whether it creates a new problem.
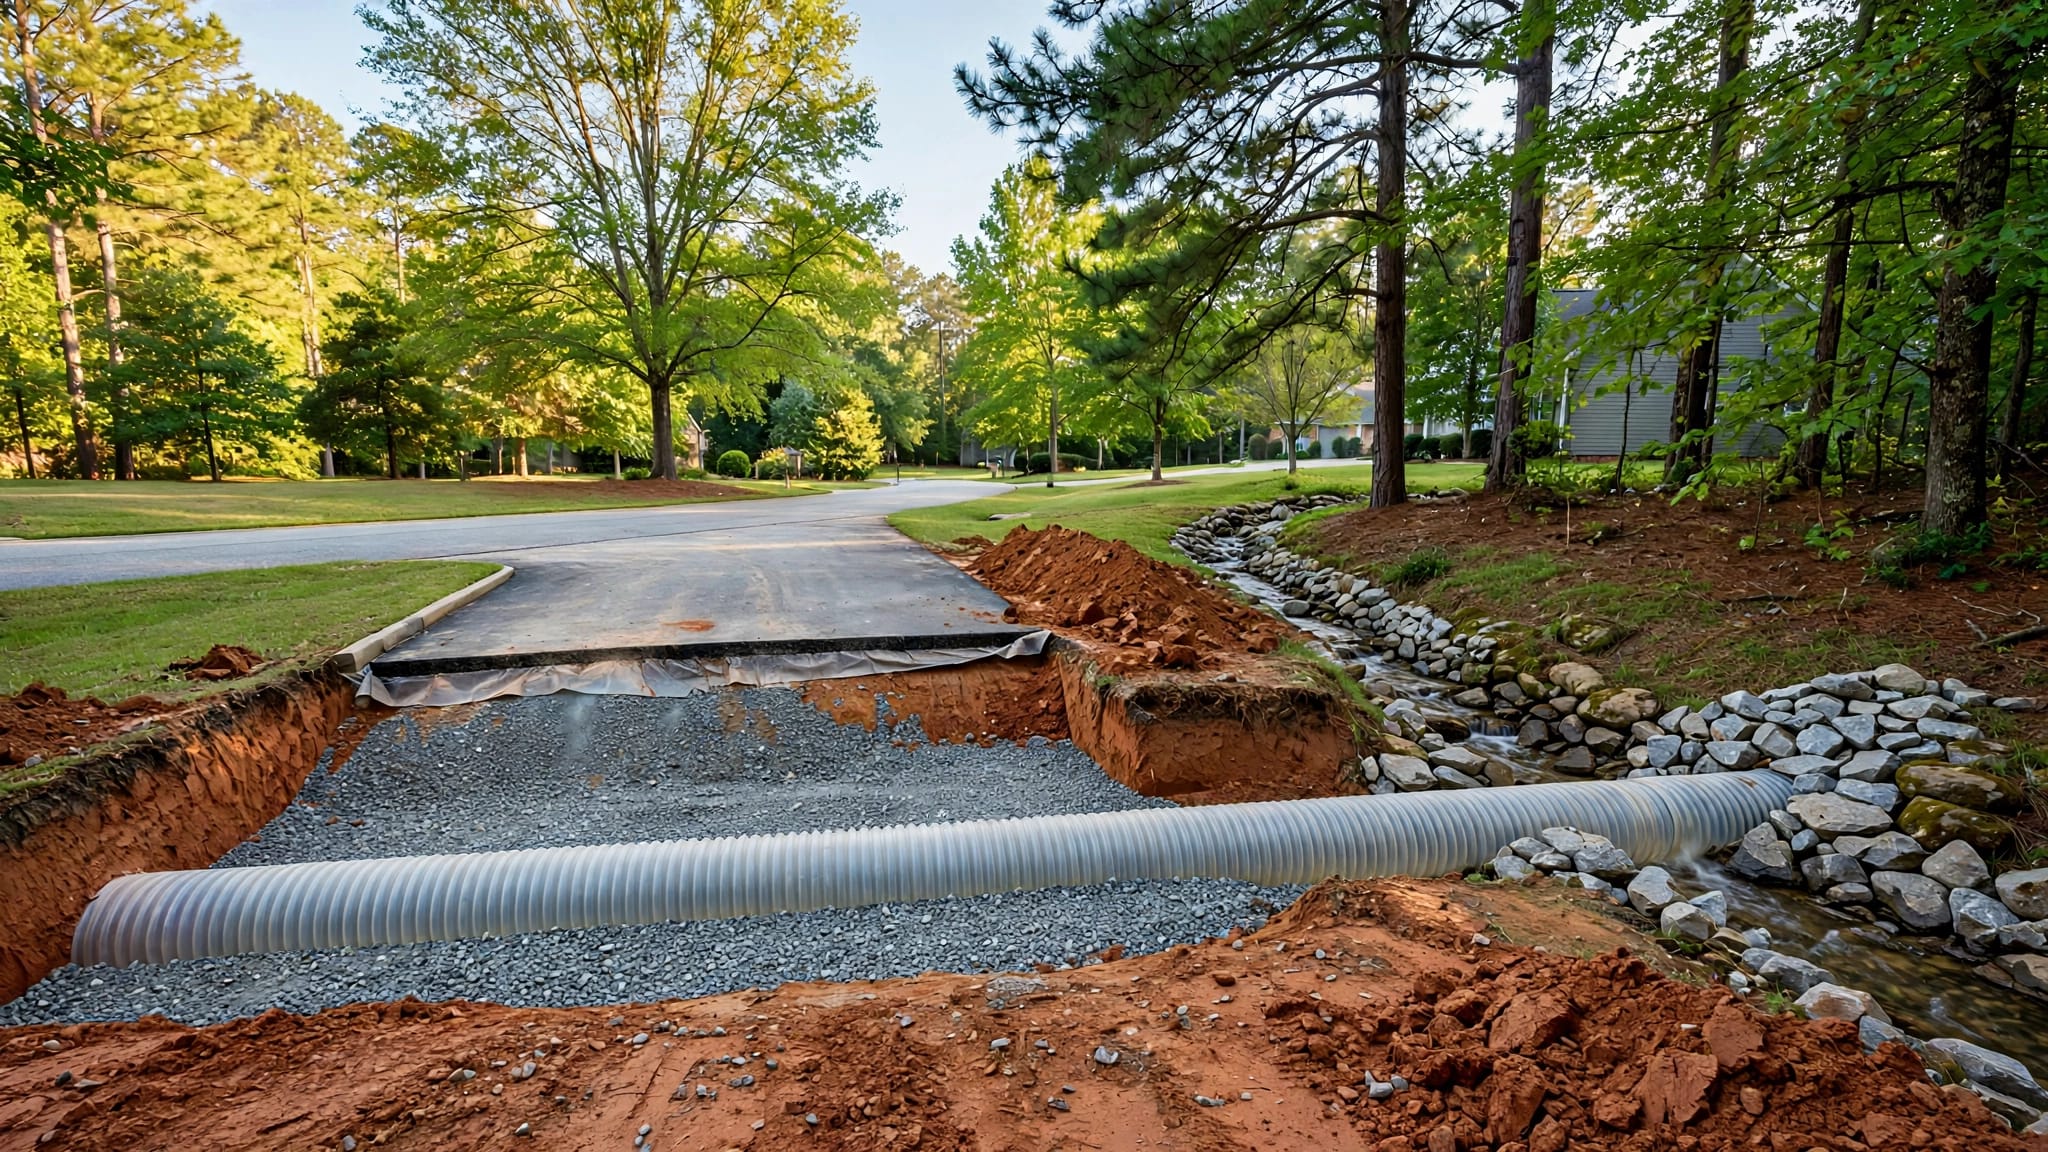
A daylight outlet allows the drain pipe to exit at a lower point and release water by gravity. The outlet needs protection from soil, roots, mowing equipment, and animals. A visible, accessible end also makes future inspections easier.
When a daylight outlet isn't possible, a solid pipe may carry water to a lower area. The route should have enough slope and stable connections to prevent leaks. Buried pipe needs a plan for cleanouts, access, and future maintenance.
Some yards need a pop-up emitter or another approved surface outlet. These devices can distribute water across a suitable area, but they still need proper placement. They shouldn't discharge directly beside the wall, at a foundation, across a property line, or onto an unstable slope.
A sump basin and pump may be necessary when gravity can't move water to a safe location. Pumps add maintenance and depend on power. A pump system also needs an outlet that remains safe during heavy rain, not only during normal weather.
Water leaving the property must not erode the receiving ground. A pipe that ends on bare clay can create a trench within a few storms. Depending on the site, the outlet may need a splash pad, stone apron, vegetation, or another erosion-control detail.
Before choosing an outlet, confirm:
- Where the water will go during a major storm.
- Whether the route crosses a utility, easement, or property boundary.
- Whether the discharge could affect a foundation or neighboring yard.
- Whether the receiving slope can handle the flow.
- How someone will inspect and clean the outlet later.
If the only available discharge point is near a neighbor's property or a steep drop, stop and get site-specific help. Moving water without controlling its final destination can shift the drainage problem downhill.
A Practical Installation Sequence for Clay Soil
Drainage work behind a retaining wall often requires excavation and temporary soil support. The sequence below describes common components, but it isn't a substitute for a site design, engineering review, or local approval. Wall height, surcharge loads, soil conditions, and slope angle can change every detail.
- Inspect the site before digging. Mark the wall, upper and lower grades, downspouts, utility lines, irrigation, foundations, and property boundaries. Contact Georgia 811 before excavation, even for a small residential project.
- Remove water sources first. Redirect downspouts, repair irrigation leaks, and correct obvious surface runoff. There is little value in installing a drain while a roof leader continues dumping water behind the wall.
- Prepare a stable base. The wall needs a firm, properly graded foundation. Loose fill, soft clay, roots, and organic debris can create settlement. The required base depth and material depend on the wall type and site conditions.
- Install the wall's drainage zone. Place clean aggregate behind the wall as construction continues. Keep clay and other fine soil from mixing into the stone. A geotextile separation layer may be needed, but its location and type should match the design.
- Set the drain pipe near the base. The pipe needs a consistent route toward its outlet. Avoid sharp bends, crushed sections, and places where soil can cover the openings. Follow the pipe manufacturer's installation requirements and the approved wall plan.
- Build in manageable lifts. Add and compact backfill in layers instead of dumping a large volume behind the wall at once. Heavy equipment operating too close to the wall can create extra pressure, especially when the structure is still under construction.
- Protect the top edge. Shape the finished grade so surface water moves away from the wall. Use the appropriate cap, soil cover, paving, or planting detail for the wall system. Keep the top edge from becoming a gutter.
- Test the drainage route. Before closing the excavation, confirm that water can travel through the pipe and reach the planned outlet. Check every connection, cleanout, and exposed discharge point.
- Stabilize the surrounding soil. Finish with appropriate vegetation, mulch, stone, or erosion-control materials. Bare clay can wash during the first storm and carry sediment into the drain system.
Backfill selection deserves special attention. Clay placed immediately against the wall can hold water even when a small amount of gravel sits at the base. Clean aggregate should occupy the drainage zone, while suitable compacted soil can finish the upper area where the design allows it.
Avoid using random construction debris, broken concrete, or unwashed stone as a substitute for approved drainage material. Those materials can leave voids, contain fines, or shift under load.
For a new wall or a major rebuild, professional retaining wall installation services in Atlanta can address grading, wall construction, drainage, and the finished yard as one project.
When Local Rules or Professional Review Matter
Drainage details vary by wall height, soil strength, slope, nearby structures, and the load above the wall. A wall supporting a lawn has different demands from one below a driveway, patio, shed, pool deck, or parked vehicle.
Local requirements can also vary across Metro Atlanta. The city, county, or municipality may regulate wall height, setbacks, drainage discharge, grading, easements, or structures near a property line. Requirements may also apply when a wall sits near a public right of way or carries a surcharge.
Check with the local building or permitting department before construction. Ask what approvals, drawings, inspections, or drainage restrictions apply to your address. Don't assume that a wall on private property is exempt from every rule.
A professional evaluation is a sensible next step when:
- The wall is tall, leaning, bowing, cracked, or separating.
- The slope above the wall is steep or unstable.
- A driveway, building, pool, patio, or deck sits nearby.
- Water enters from an upper property or shared drainage route.
- The proposed outlet would affect a neighbor or public area.
- Excavation could expose utilities or undermine a foundation.
- The wall has failed before or shows signs of settlement.
An engineer may need to review structural and soil conditions. A qualified drainage or hardscape contractor can help identify runoff sources, outlet options, and construction limits. These roles are different, so ask for a written scope that identifies who handles design, permits, excavation, drainage, and final grading.
Maintain the Drainage System Through Atlanta's Wet Seasons
A drainage system needs occasional inspection, especially after strong storms. Walk the wall and outlet when the ground is safe. Look for new wet spots, muddy seepage, displaced gravel, clogged openings, or erosion below the discharge point.
Keep gutters and downspouts clear. Confirm that extensions remain connected and that water still leaves the property at the intended location. Mowing, landscaping work, animals, and settling soil can move or crush exposed pipe.
Use this seasonal inspection list:
- Check the wall face for new cracks, bulges, gaps, or leaning.
- Clear leaves and mulch away from visible weep holes.
- Inspect the upper grade for channels that direct water toward the wall.
- Look for standing water behind or beside the structure.
- Confirm that the outlet is open and stable.
- Repair small areas of erosion before they expand.
- Watch for irrigation overspray or unusually wet soil.
Don't seal weep holes with caulk, soil, or expanding foam. Those openings may be part of the wall's intended drainage path. If they release muddy water, clog repeatedly, or stay wet for long periods, the problem may be behind the wall.
Plant roots can also interfere with drainage and wall movement. Avoid large woody plants directly above or behind a wall unless the site plan allows them. Keep aggressive roots away from pipes and outlets, and choose ground cover that stabilizes exposed clay without blocking inspection areas.
After a major storm, compare the wall with older photos. A small change in alignment can be easier to spot in a picture than from ground level. Record the date, rainfall conditions, wet areas, and any movement before contacting a contractor.
Warning Signs That Call for Drainage Repair
Water-related wall damage often develops gradually. A few shifted blocks may become a larger failure when another storm saturates the backfill. Fast action doesn't always mean a full rebuild, but it does mean identifying the water source before making cosmetic repairs.
Watch for a wall face that leans outward, bulges in the middle, or develops a step between sections. Cracks near the ends, separated caps, open joints, and soil pushing through gaps also deserve attention. On timber walls, soft wood, dark decay, and exposed fasteners can point to long-term moisture.
Muddy water flowing from joints may indicate that soil is leaving the backfill. A blocked drain can create pressure even when the wall face looks intact. New puddles near the top edge can point to a grading or downspout problem.
Don't excavate behind a leaning wall without a plan. Removing supporting soil can make the structure move further. Keep people, pets, vehicles, and heavy equipment away from an unstable area until someone evaluates it.
Repair costs depend on access, wall material, excavation depth, drainage work, disposal, grading, permits, and whether the wall needs partial or full reconstruction. A 2026 Atlanta retaining wall repair cost guide can help you understand how drainage and structural damage affect a repair budget.
Ask for a written estimate that separates drainage improvements from wall replacement. The scope should identify the water source, proposed pipe route, outlet location, backfill material, erosion protection, and final grading. If those items aren't clear, the estimate may not address the cause of the failure.
Conclusion
Wet clay makes retaining wall drainage in Atlanta a site-specific problem, not a one-size-fits-all installation. Surface runoff control, clean backfill, a working drain path, and a safe outlet must work together.
Keep discharged water away from foundations, neighbors, and unstable ground. If the wall is moving or the outlet has no safe destination, pause the project and get a qualified site review before digging. A dry, controlled drainage path protects the wall far better than a cosmetic patch after every storm.